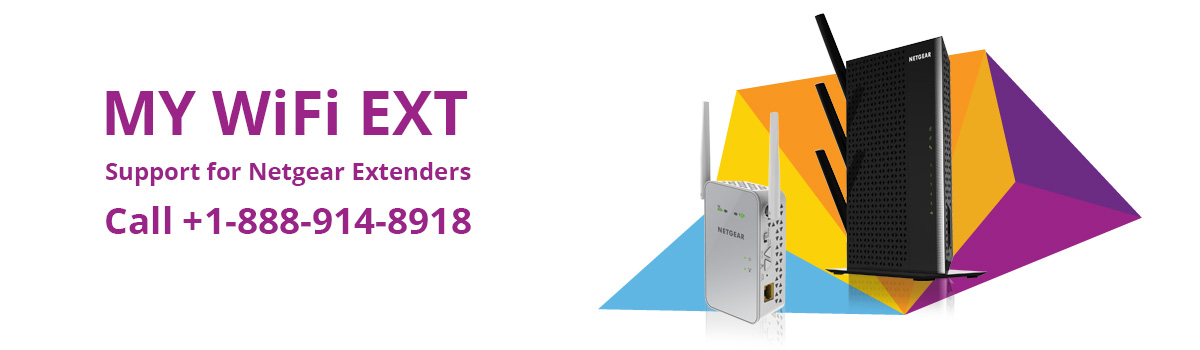
www.mywifiext.net ex7000
Extenders are meant to increase the range and speed of the existing network. So, same is the case for Netgear EX7000 Setup. It provides dual band Wifi at speeds up to 1900 Mbps. It is best use for gaming and HD video streaming. You can connect any router either it is Netgear, Tplink or Linksys with the EX700. It works well with every router. There are two modes in which an extender can be used; one is by creating a Wifi hotspot by using a wired Ethernet connection and second is access point mode as a Wifi access point. You can connect your laptops, smart phones or any device with the extender from any corner of your home because it is able to remove the dead spots.
Firstly, you need to purchase an Extender from the market. When you purchase the one, the next step is to unpack your extender box. It contains the following things:
Extender
Three antennas
Power adapter
Stand
Four rubber feet
To find the best location for your extender, use the LEDs lights of the extender. The performance of the extender can also be determined by the LED lights. LED lights turn yellow for about a minute when extender is plugged and switched on. And the Device to Extender LED and the Link rate LEDs blink for about two minutes when WPS button is pressed.
How to attach the stand of the Netgear ex7000 Setup?
The stand needs to be attached if you want to place the extender in the vertical position. To attach the stand, follow the steps given:
Find a flat surface in your home and put stand there.
The left side of the extender points downward when you hold the extender in upright position. You can find which one is the left side by locating the three rectangular openings. Left side of the extender has three rectangular openings. The vertical support and the top panel must face the same direction.
Fix the three rectangular openings onto the stand and hold it for some time to confirm the fixing.
How to attach the rubber feet?
You can attach the rubber feet by following the steps mentioned below if you want to place the extender in horizontal position:
The panel that is red in color is the bottom of the extender. Place the extender upside down, with the red panel facing you.
Now attach the rubber foot that comes up with the extender in each corner to give support to the extender.
How to properly attach antennas?
Antennas are required if you want to increase the performance. For this, the proper alignment of the antennas should be needed.
There are antennas posts on the extender in which you have to fix the antennas. Align them and attach them properly so that they do not fall.
To increase the performance of your Wifi signal, adjust the antennas properly.
Description of the product label and what it contains:
The product label is important as it contains the serial number of the extender, MAC addresses of the radios, security PIN, login URL and other useful information.
To read what is on the product label:
The red panel is the bottom of the extender as I told earlier. Hold the extender so as red panel is facing you. Hold it in the upside down position to have a clear view.
You have to find the handle with Netgear printed on it, pull out the product label.
When to use the Extender?
There are some dead zones in your home. Dead zone means the area where the connection of your existing network is so poor or there is no network at all. To remove these dead zones, extenders are used. It is advised by the Netgear Company to use the extenders when there is low or no connection of the existing network because the speed that comes from the original network is more than the network of the extender.
Working of the Extender:
It acts as a bridge or gateway between the Wifi device and Wifi router. The Wifi device is outside from the range of the router. The two main function of the extender is:
It acts as a Wifi device when connected to the main router or existing network of your home or small office. It is client for the router and act as a server for the other Wifi devices.
For Wifi devices, it acts as an access point.
The extender transmits its own Wifi network and other Wifi devices then connect with that network rather than the host router network. It broadcasts its SSID also called as network name. Basically, in all it expands the range and coverage area of the host router that helps in removing the dead spots from the area.
Before the setup of the extender, you need to setup the hardware of the Extender.
To setup the hardware:
Firstly, If you want to place the extender vertically then attach a stand and if you want to place it horizontally then attach a rubber feet. Secondly attach the antennas and later on adjust the position of these antennas.
Turn on your Netgear Extender.
The position of the Netgear extender should be close to the Wifi router. Plug it into the power outlet and press the power button to turn it on. The Netgear Links rate LEDs and the Device to Extender LED light turn amber and then turn off.
Setting up the extender using WPS
If you are lazy to type the network name that is SSID and password of your existing Wifi then this method is meant for you.
Steps to follow to setup the extender using WPS:
Switch on the extender.
Locate the WPS button on the extender and press it. The device to extender LED and Link Rate LEDs turn green and blink for about 2 minutes.
Press the WPS button on the router within 2 minutes.
If the router you are using supports 5GHz band then add that band otherwise add 2.4GHz. For confirmation of the connection, check the LED lights of 5GHz band, it must be green.
Steps to follow to connect through a web browser:
Connect to the extender Wifi network by using a Wifi network manager on your laptop or any other Wifi device. After successful completion of the connection, check the device link LED lights.
Open a web browser such as Internet Explorer, Google Chrome, and Mozilla Firefox. Type the URL ?www.mywifiext.net?in the address bar of the browser window.Setup page of your new extender displays.
You will view the New Extender Setup button, click on it. The page of create account opens, if it does not visit www.mywifiext.net.
Some fields are given, fill up the fields and click on the next button.
Select the Wifi network you want to extend and click on the next button.
Enter the passphrase of your Wifi network in the password field (passphrase is also called as security key) and click on the next button.
You need to provide a new SSID and password for your new Wifi network and click on the next button. A list of extended Wifi comes up in front of you. It might take about 1 or 2 minutes.
Connect the laptop or device you are having to the extended Wifi network. To connect, you have to provide the network name (SSID) and password in the respective fields that you have created in the previous step. Repeat this step, if you want to connect more devices.
Check the connection established between extended network and Wifi device before clicking on the Continue button.
A dialogue box with a message that the extender is connected and ready is displayed after you clicked on the continue button.
Click on the next button to proceed. The registration page displays.
Fill up the fields given and click on the finish button. It is your choice; you want to fill up the registration fields or want to skip it. But if you get any problem in the future regarding extender then you cannot take tech support without registration. If you don?t do this time then you have to do it after sometime.
Place the extender midway between the router and the area where the connection is poor after unplugging it from the power outlet. The extender must be in the range of your Wifi router.
Again plug in the router, and wait till the power LED turns green. You need to press the power button if LED does not light up.
The router Link LED tells you about the correct position of the extender. If the light in the LED turns green then it?s alright if it does not then try again and again by switching or changing the position of the extender. The area where it turns greenis the area where the optimal connection is established.
Reconnect the Wifi device to the extended Wifi network.
Now it?s time to check the connection. Take your laptop in the area where the connection was poor, try to access the internet and check if the device Link LED turns green or not. If it is green then the connection is good and reaches the area where the connection was poor. If it is not, then change the location of the extender.
Connect an Ethernet-Enabled Device
If you connect a wired device to the extender using an Ethernet cable after the establishment of the connection between extender and Wifi network then that device is able to access the existing network through the Wifi connection of the extender. After installing the extender, you are able to change the settings of the extender by log in to the extender. There are proper steps on how to login after installation.
The device Link LED light turns green when you have successfully built the connection with the new extended Wifi network.
Open an Internet browser.
Type www.mywifiext.net in the address bar located at the top of the browser window. A login window appears.
The setup page displays after you successfully login with your username and password
